Witness cones are one of the most important tools in a potter’s kiln room — yet many potters skip them entirely, trusting their digital controller alone. The problem is that thermocouples drift over time and can read inaccurately. Witness cones tell you what actually happened in your kiln, not just what the controller thought happened. Here is how to set them up and read them correctly.
What Are Witness Cones?
Witness cones are small pyrometric cones placed inside the kiln during firing to visually confirm the heat work achieved. Unlike the controller readout — which shows what the thermocouple measured — witness cones respond to the actual heat work experienced at their location in the kiln. They are your ground truth.
Which Cones to Use: The Three-Cone System
Always use three cones at once — one below your target, one at your target, and one above. This is called a cone pack. For a cone 6 firing:
Cone 5 — the Guide cone below. Should be fully bent, touching the cookie after firing laid down more than the target cone. If it is not bent much, you significantly underfired.
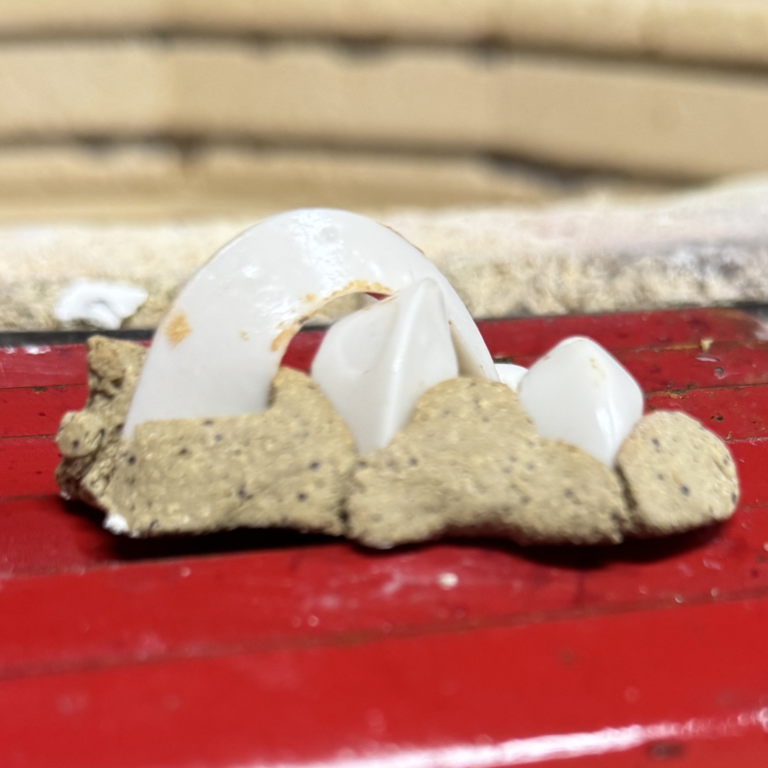
Cone 6 — your target cone. Should be bent just touching the ki approximately 90 degrees — touching or nearly touching the base. This confirms you reached cone 6 heat work.
Cone 7 — the guard cone above. Should be bent about halfway. If it is fully bent, you overfired
How to Make a Cone Pack
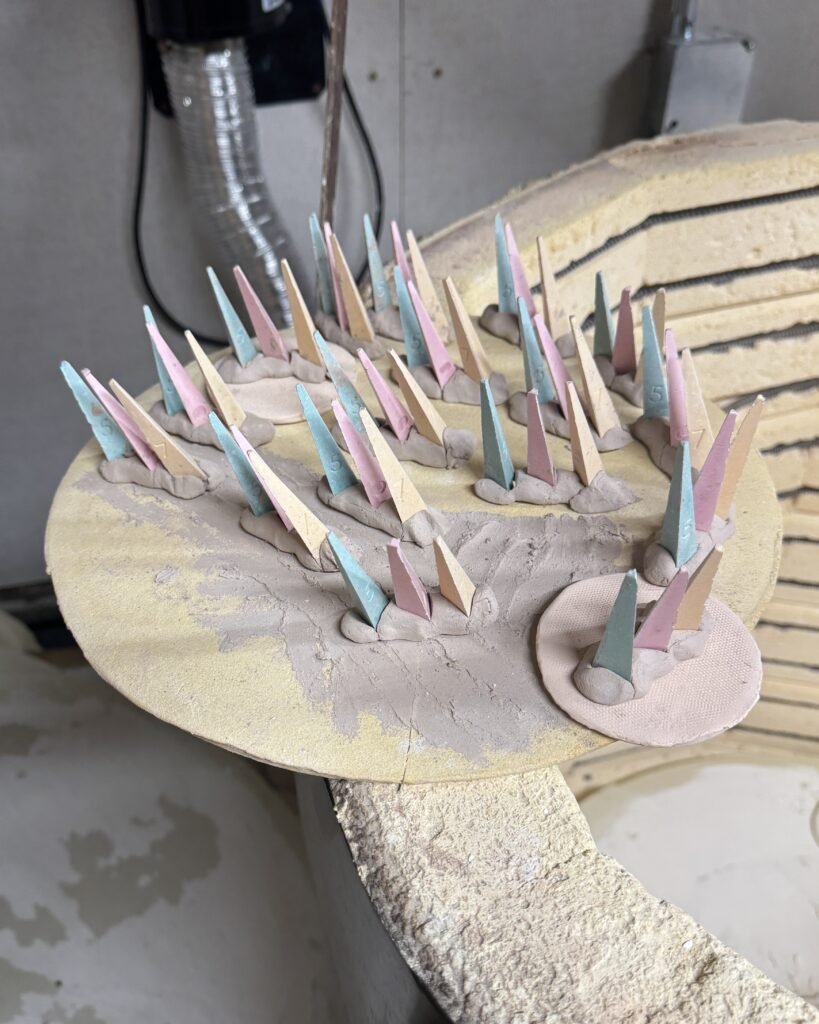
A cone pack is a small slab of clay with the three cones embedded in it. Here is how to make one:
Roll a small coil of clay approximately 2–3 inches wide, 3–4 inches long. Make sure whatever clay you are using is a high fire clay or the same temperature as your clay body. You don’t want to use a lowfire clay when you are doing a midfire or hgihfire glaze firing.
Insert the three cones in a row, leaning them at approximately 8 degrees off vertical — this is the correct angle for accurate bending. If you take the cone and have it perpendicular to the countertop and insert it all the way to the bottom of the coil you should hit the 8° your looking for. Cones leaning too far forward will appear to bend earlier than they actually should. Make sure that they bend slightly off to the side and have a cookie underneath them. You don’t want them to bend into each other.
Label the slab with the cone numbers using a needle tool — this makes reading the results easy after firing, especially if you have multiple cone packs in the kiln.
Let the cone pack dry completely before placing it in the kiln. A wet or damp cone pack can crack during firing.
Where to Place Witness Cones in the Kiln
Place your cone pack where you can see it through the peephole if it is a manual kiln otherwise place one cone pack on the top, middle and bottom shelves. For the manual kiln you usually place one at eye level with the peephole when you are standing in front of the kiln. This lets you check the cones during firing without opening the kiln. For a larger kiln, place cone packs on both the top and bottom shelves to check temperature distribution — kilns often fire hotter at the top or bottom depending on the age and condition of the elements.
How to Read Witness Cones After Firing
Once the kiln has cooled completely, remove the cone pack and examine how each cone bent:
Standing straight — the kiln did not reach that cone temperature
Tip slightly bent — approaching that cone but not quite there
Bent halfway — midway through that cone range
Bent to 90 degrees, touching the base — full cone temperature achieved
Melted into the base — significantly past that cone temperature
Your target cone should be bent to 90 degrees. Your lower guard cone should be fully bent or melted flat. Your upper guard cone should be standing and about halfway bent.
What to Do If Your Cones Do Not Match Expectations
Target cone not fully bent — you underfired. Increase your peak temperature, slow your final ramp, or add a longer hold next time.
Upper guard cone fully bent — you overfired. Reduce peak temperature or shorten your hold.
Top and bottom cone packs show different results — your kiln has hot and cold spots. This usually indicates aging elements. Consider element replacement or adjust your loading to compensate.
I am a visually impaired ceramic artist. I have been making for around 8 years now. I specialize in functional colorful pottery. Mainly nerikome and other decorative processes.